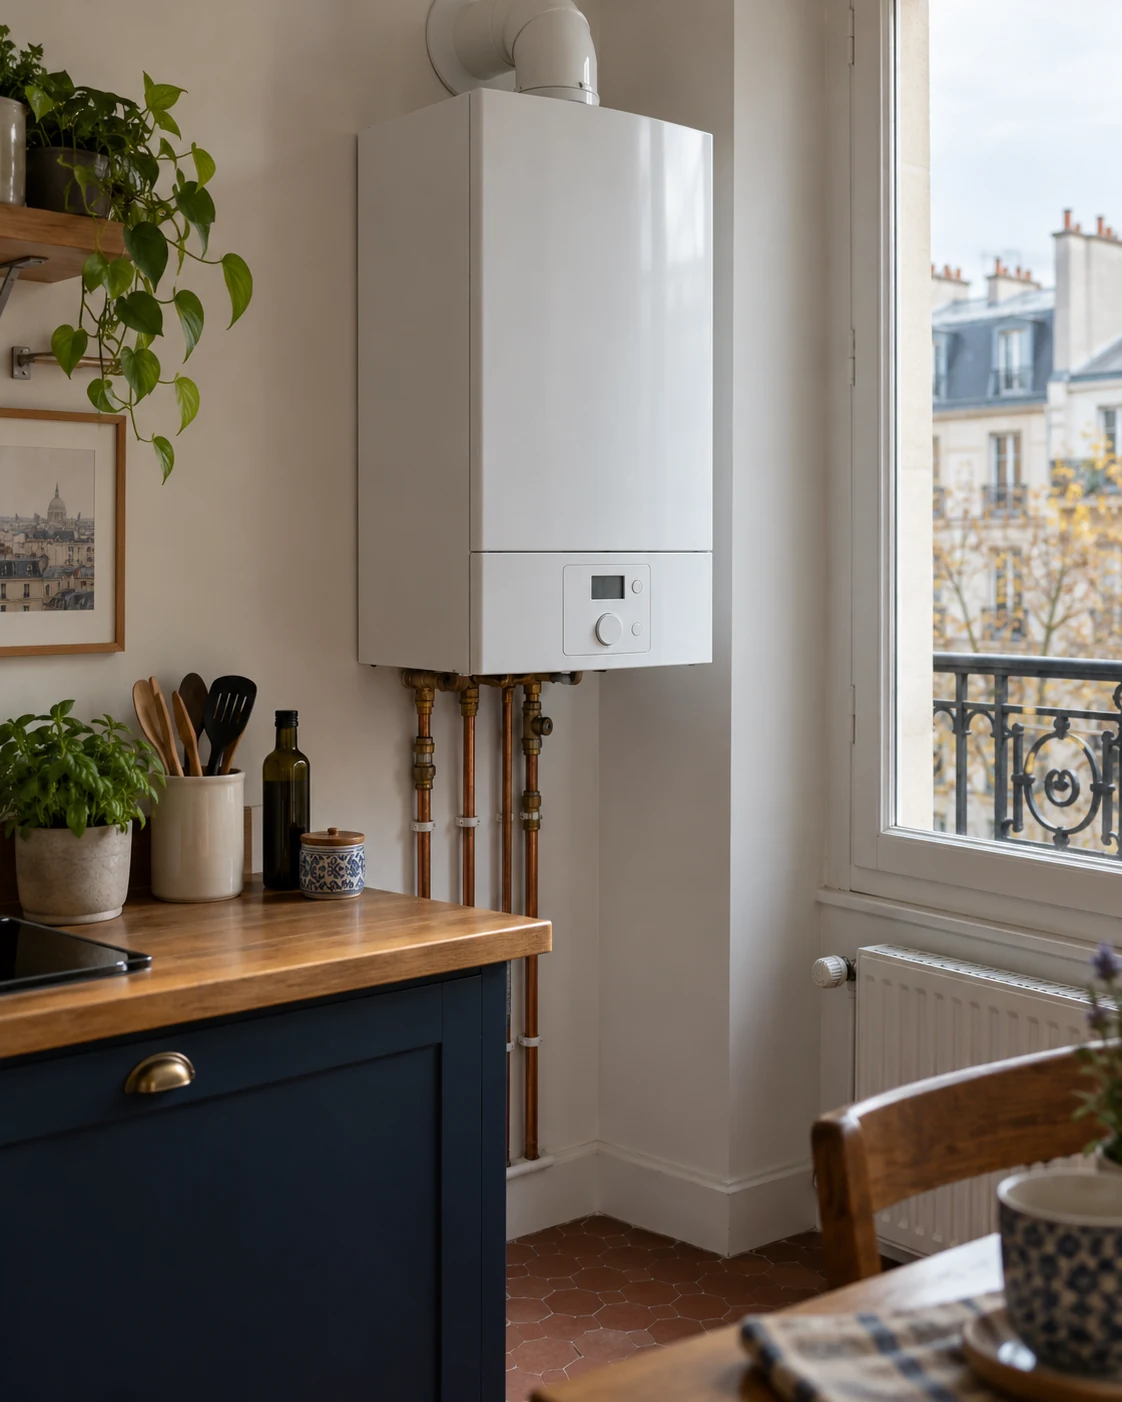
First, check which pressure you are looking at
The boiler gauge normally refers to the water in the heating circuit. It is not a reading of the water pressure at your kitchen tap. A tap working as usual therefore tells you little about whether the heating system is holding its pressure.
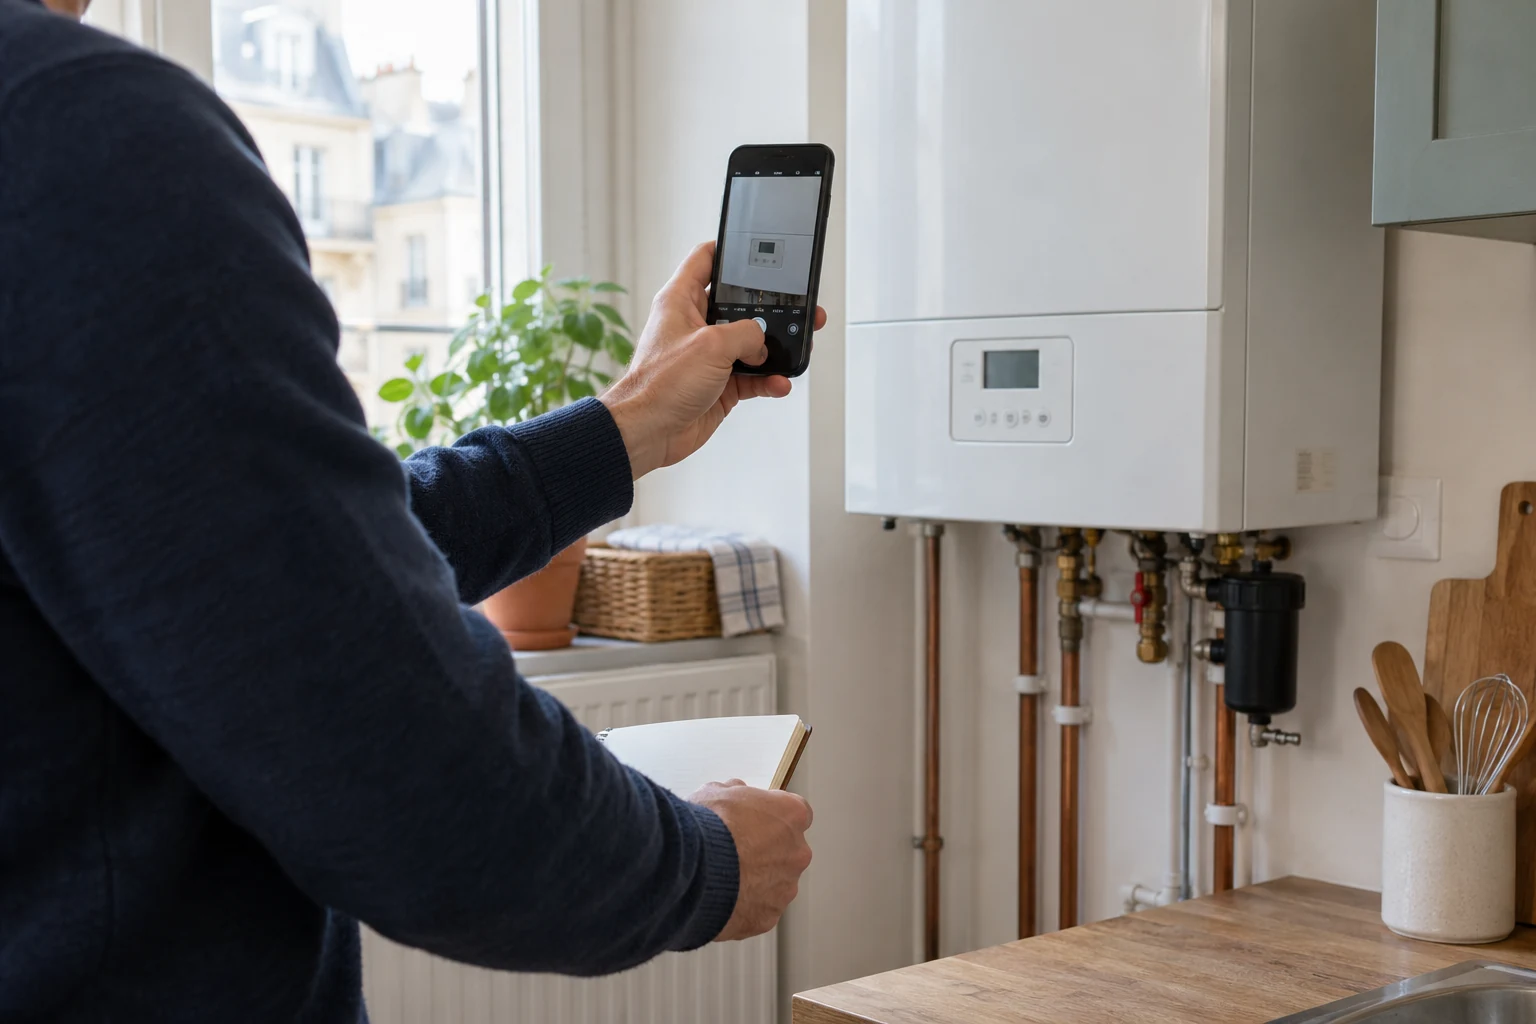
Use your appliance manual to identify the gauge or display and the operating range for your installation. Avoid applying a pressure figure found online to every boiler or building. Take a photograph that includes the whole display, any symbols and any fault code.
Temperature matters too. A reading taken while the heating is running is not directly comparable with one taken after the system has cooled. Note the condition alongside the figure; do not run extra heating cycles simply to test a theory.
If the boiler displays a fault or shuts itself down, follow its instructions and contact the heating professional responsible for it. You do not need a week of readings before reporting a rapid pressure drop or loss of heating.
What does “no visible leak” actually tell you?
It tells you that you have not found an accessible escape of water. A small loss can be hidden within equipment, beneath a floor or behind a lining. Water discharged by a safety valve may also be carried away rather than collecting in front of the boiler.
An expansion vessel allows for changes in the volume of heating water as its temperature changes. A pressure relief valve can release water when pressure becomes too high. Both belong in the professional assessment; neither should be diagnosed from one gauge reading.
| What you have noticed | What it helps the professional investigate | What it does not establish |
|---|---|---|
| The change began after radiator bleeding or work on the system | The recent work and the condition of the circuit | Why the pressure keeps falling afterwards |
| The reading changes markedly between hot and cold | The expansion vessel and associated safety components | That one particular part needs replacing |
| Water marks appear near a discharge pipe | Whether water is being released and why | That the pipe should be blocked or the valve adjusted |
| Accessible connections look dry but pressure continues to fall | The boiler, visible components and, where indicated, concealed pipework | That all of the heating system has been checked |
Vaillant’s explanation of pressure loss also distinguishes faults within the appliance from losses elsewhere in the system. For your own installation, keep to the manual and the advice of the professional examining it. Repeatedly adding water does not identify the cause.
From observations to checks
Four steps to guide the investigation.
Note the pressure, time, heating conditions and any recent changes.
Photograph traces on accessible parts without touching hot components.
Ask a heating engineer to check the expansion vessel, safety valve and relevant components.
If the circuit remains suspect, arrange suitable checks to narrow down the area to investigate.
Photos, dates and heating conditions give a pressure reading useful context.
Four steps towards a useful diagnosis
1. Record the pressure and what changed
Keep a short log rather than relying on a remembered figure. For each observation, record:
Date and time / displayed pressure and unit / heating running or cooled / anything that changed since the previous reading.
Include any recent servicing, radiator bleeding, replacement radiators or building work. If water has already been added, note when and how often, as far as you know. Leave uncertain details marked as unknown.
Add the boiler make and model and whether your home has radiators or underfloor heating. In a Paris flat, it is also worth confirming that the heating is individual rather than assuming the boiler belongs to the whole building. The French terms you may see are chauffage individuel and chauffage collectif.
2. Look at accessible parts without dismantling them
Check the floor beneath the boiler, the visible radiator connections and exposed pipework without touching hot parts. Photograph any drip, staining or new patch of damp. One wider view and one close-up usually give more context than a close-up alone.
Report marks in the room next door or on the ceiling below as well. A warm patch of floor is not proof of a leak: pipework can warm the surface above it during normal operation.
Do not remove the boiler casing, tighten an unidentified fitting or open a boxed-in section to continue the inspection. Never block a safety discharge. If water reaches electrical equipment, avoid contact with the wet appliance and arrange prompt help rather than continuing your observations.
3. Have the boiler and its components checked
In France, the professional who maintains and diagnoses heating equipment is often called a chauffagiste. Explain that the visit concerns recurring pressure loss and send your log and photographs beforehand.
Ask what was checked, what was found and what was repaired. A general service is useful background, but it does not necessarily answer a fault that appeared afterwards. “The boiler has been checked” is not the same as knowing that the distribution pipework has been tested.
Keep the visit report. If pressure falls again, send the new readings to the professional so the next assessment starts with the checks already completed.
4. Investigate the pipework if it remains suspect
A heating leak investigation becomes relevant when the initial checks do not explain the loss, or when observations already point towards part of the circuit.
The specialist considers the boiler report, the known pipe routes and the available access. Suitable pressure checks may help assess a circuit or section. The findings apply to the area and conditions actually tested, rather than proving that every part of the building is free of leaks.
Concealed pipes or underfloor heating do not automatically mean the floor must be opened first. Our heating leak investigation service in Paris explains the information needed to prepare this work.
Can thermal imaging find the leak?
A thermal camera records surface temperatures. Under suitable conditions, this can help trace a heating circuit or reveal an anomaly worth examining. It does not see through tiles or concrete, and an unusual patch does not automatically mark a damaged pipe.
FLIR explains this limit of thermal imaging: the camera records thermal effects at the surface, which need to be interpreted alongside the other checks.
The heating pattern, surroundings and floor construction all affect the image. Other observations and, where relevant, moisture measurements help interpret it. Equally, an image without a clear anomaly does not rule out every possible leak.
Read more about thermal imaging for leak investigations and its limits before treating a thermal image as a conclusion on its own.
When might the floor need to be opened?
The result may be a directly observed fault, a narrower suspect area or a finding limited by missing access. Before an opening is agreed, ask what it is intended to do: confirm a concealed cause or reach a located defect for repair.
Investigation helps decide where and why to open; it cannot promise that the whole diagnosis and repair will require no opening at all. Do not drill into a suspected area yourself, especially where there may be underfloor heating.
What to send before arranging the next visit
Keep together your readings, photographs and boiler report. Add any plans or photographs taken before floors were laid, provided you can identify the room and the pipe route shown. Mention known changes to the installation and the position of radiators, access panels and underfloor heating manifolds.
Ask the technician what conditions to prepare for the planned checks. Do not assume that every test requires the heating to be running.
Prepare the investigation
Does the heating circuit remain suspect?
Share your location, available readings and the heating engineer’s findings to help define the scope and access needed.
Describe your situation