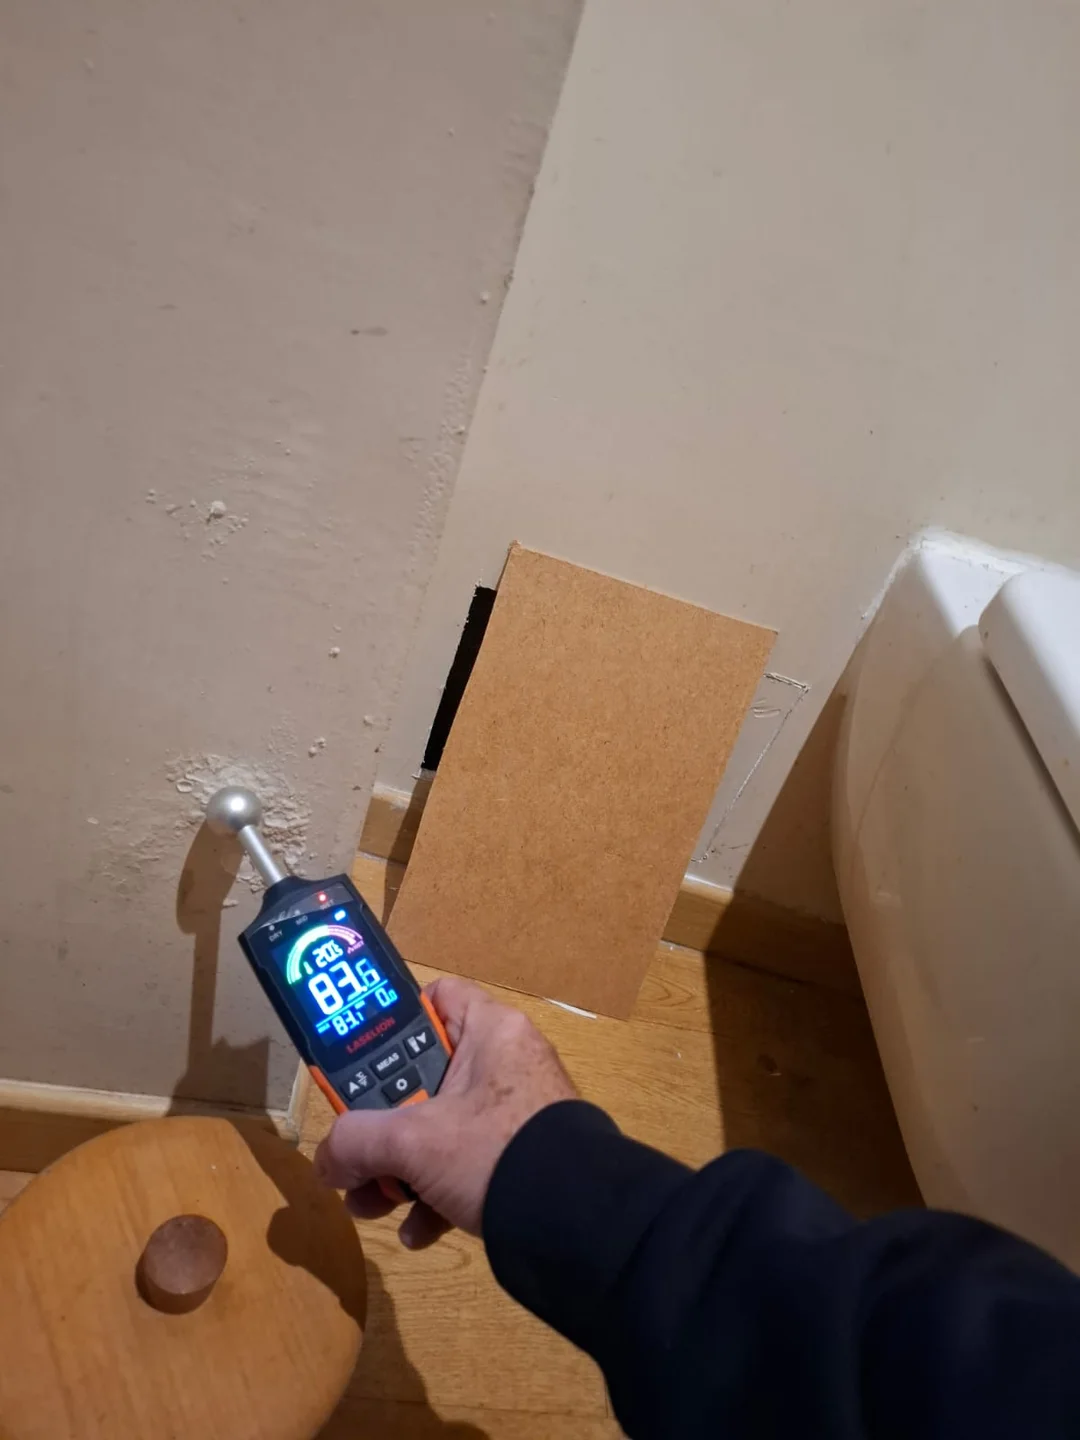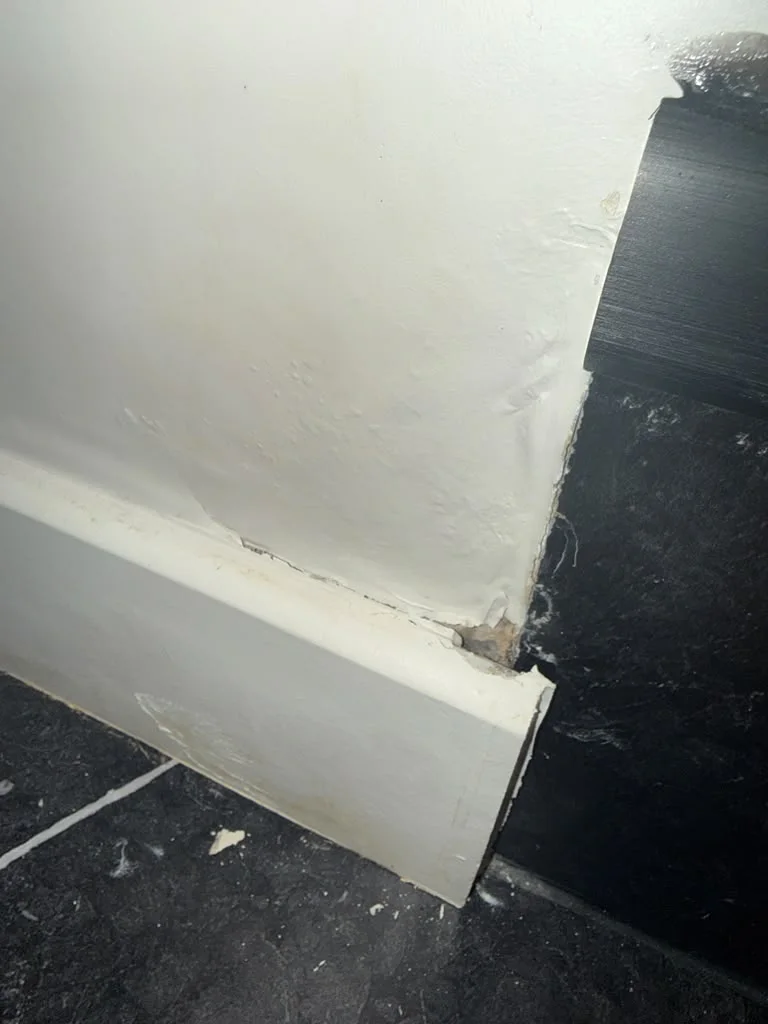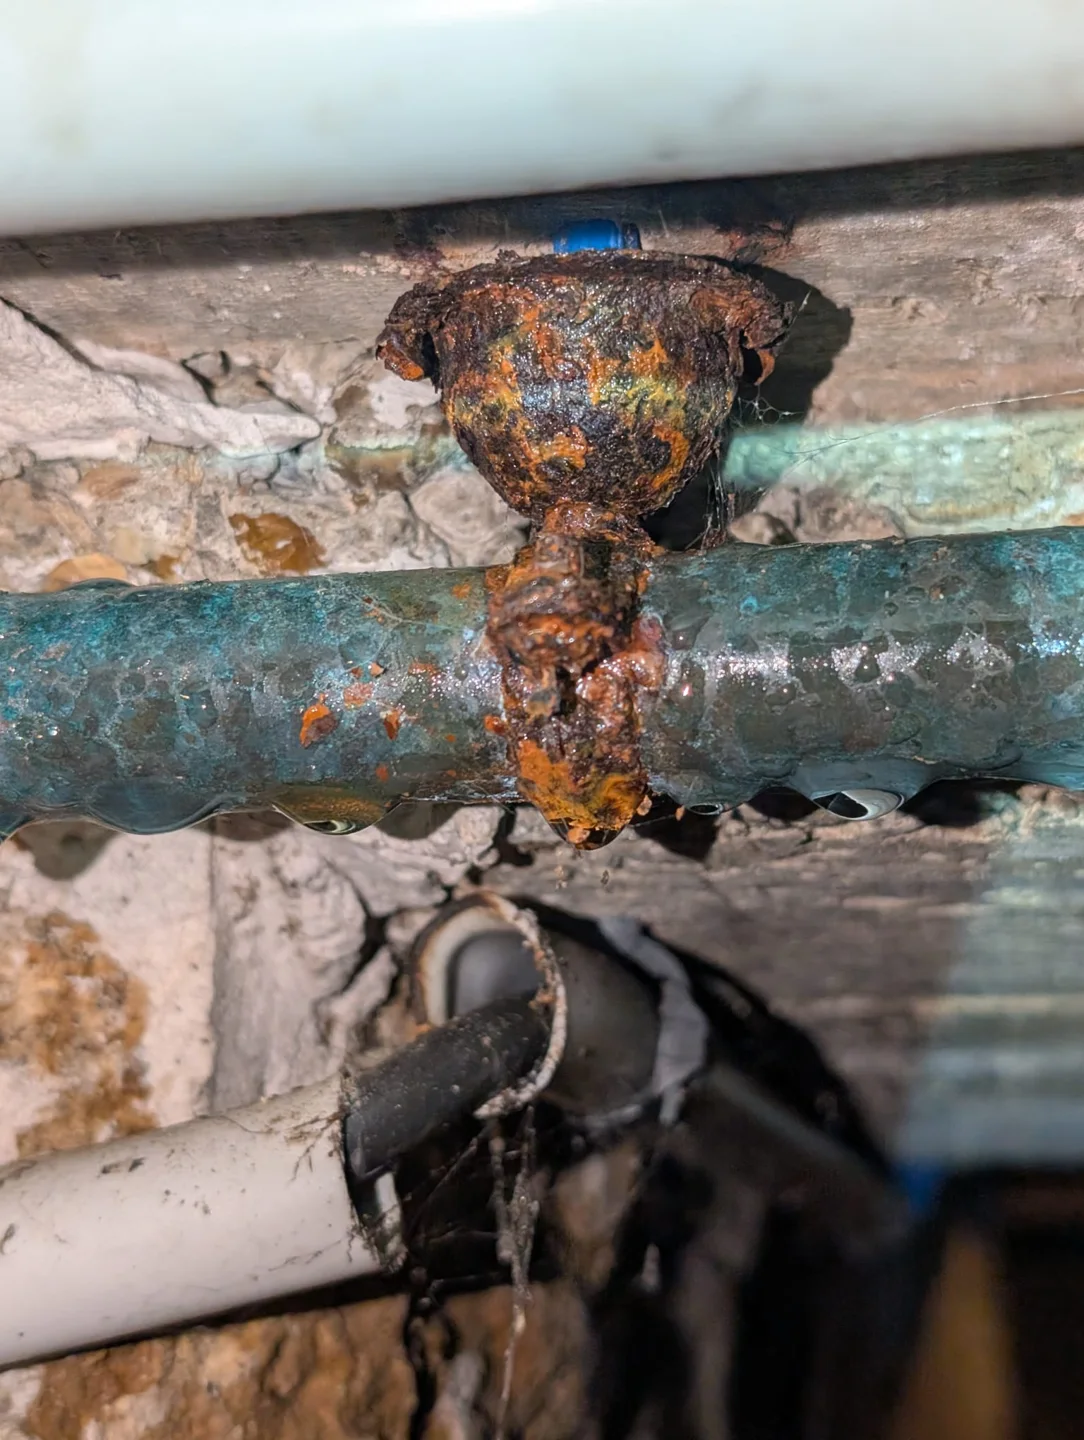
A damp skirting board, a ceiling stain or a wet basement can have different causes. These examples show what we look for and how checks help establish the next steps. They are not a statistical ranking of leak types.
Your questions and what to check
Marks give us a starting point. Their location, when they appear and the access available help us choose the checks. Here is how documented site cases can help prepare these questions.
It gets wet after a shower: the seal or the pipework?
Possible causes: perimeter seals, the shower tray and frame, then the waste pipe. Water passing through these areas must be distinguished from a supply-pipe leak.
How to tell them apart: examine the finishes and test each area separately. In one basin case, a tracer test was negative on the waste pipe but positive on the basin-top seal. In another shower case, there was no access to the neighbouring property, so the conclusion remained provisional.
Before the appointment: explain whether damp appears during use and arrange access to the property where water is appearing.
Explore seals and finishes ↗A ceiling stain: must the leak be directly above it?
Keep this possibility in mind: the source may be away from the stain. In one bathroom, a faulty basin fitting caused damp near another area.
How to check: compare observations on both sides, examine the equipment and follow the tests. The stain's location alone does not identify the part that needs repair.
Before the appointment: take an overview photo, note how the stain changes and arrange access to the property above.
Understanding a ceiling stain ↗My basement is damp: a waste stack or rainwater?
Possible causes: the waste pipe section and its joints, as well as rainwater routes depending on the layout.
How to tell them apart: test the relevant pipework and observe the basement. In one case, water from two homes reached the same leak in a cast-iron pipe. In another, the report pointed towards rainwater without confirming the exact location.
Before the appointment: explain the circumstances and confirm access to basements, homes and the roof wherever needed.
See a basement stack example ↗The pressure is stable: can we rule out every leak?
What to look at: which system was tested, for how long and with which additional observations. The result applies to that specific test.
In the documented cases: stable pressure was recorded alongside a leak at a basin waste fitting or water passing through a basin-top seal. These defects are different from a leak on the supply system being tested.
The useful next step: compare the result with checks on waste pipes, seals and damp areas.
Understanding separate tests ↗You've found the leak: will you need to open anything up?
What matters: seeing the defect and having enough room to repair it are two separate questions.
In the documented cases: moving appliances was enough to reach a manifold. Elsewhere, an access hatch allowed the fitting to be located, but an opening was recommended to make room for repair tools.
Ask for clarification on: the planned access, the size of any opening and the work included in the quote.
Explore access and fittings ↗The leak is repaired: why is the stain still there?
Separate these stages: stopping the leak, allowing materials to dry and restoring finishes.
In one case: the valves had been repaired and checked, but the ceiling below still needed to dry and be repainted. The report did not give a date for complete drying.
Ask for clarification on: what was repaired, what was checked afterwards and which work still needs arranging. Report any further change in the marks.
Explore the steps after repair ↗These possibilities come from documented cases, without probability percentages. Diagnosis requires checks suited to your installation.
01 · BATHROOM
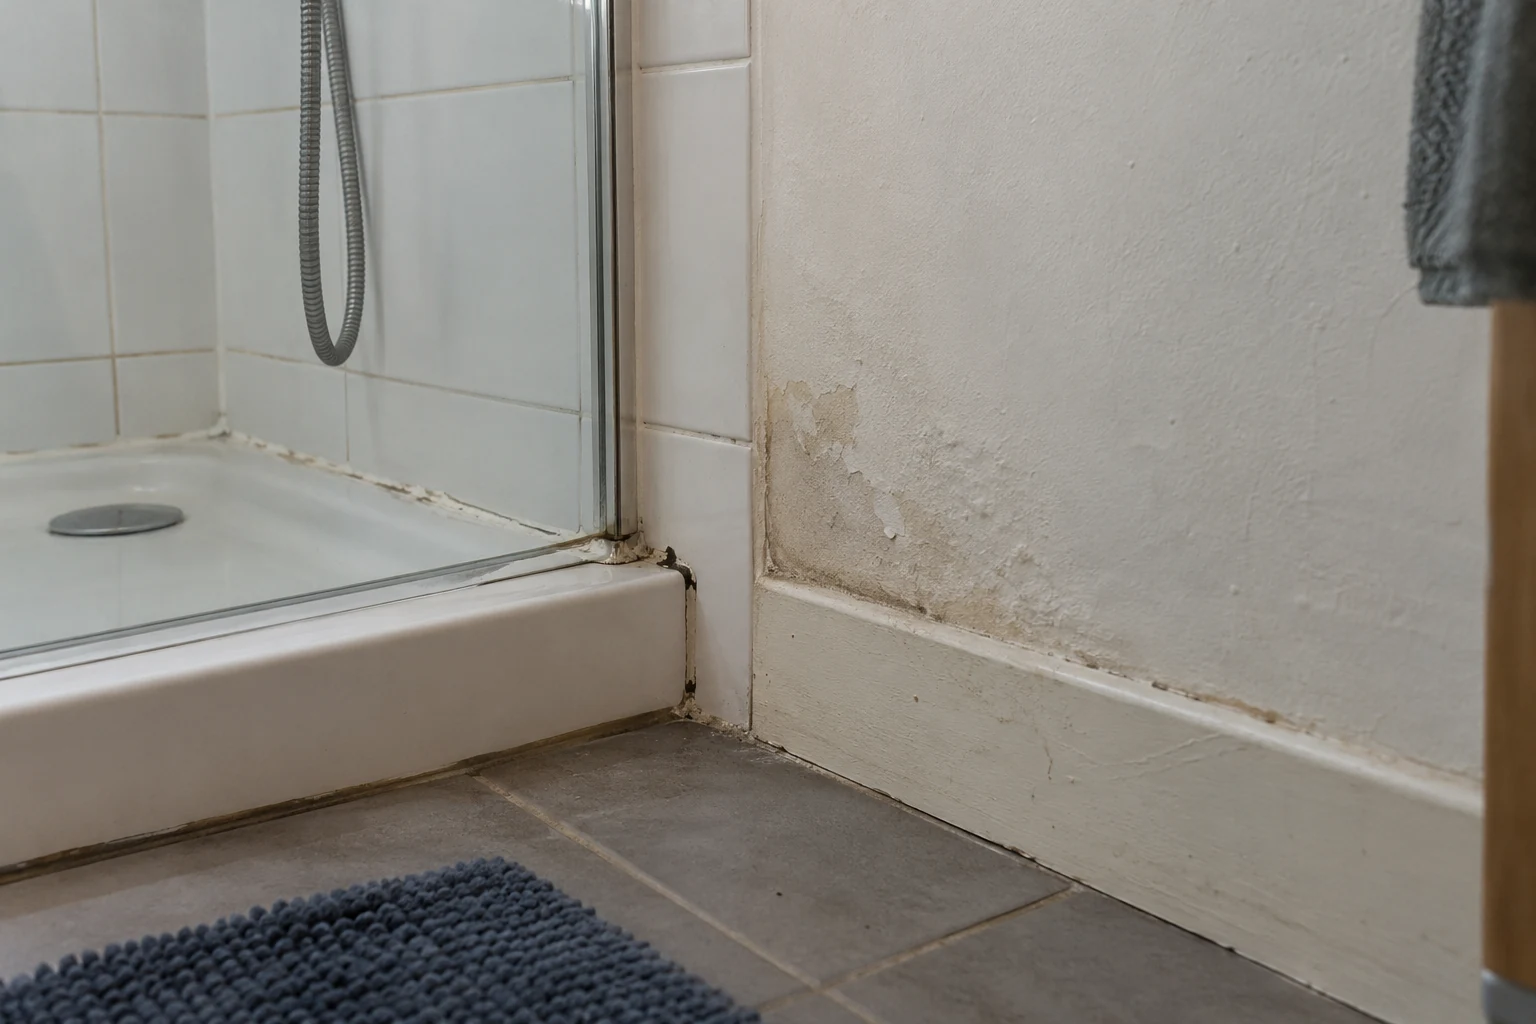
Seals and finishes that let water through
Around a shower or basin, water can pass through a damaged seal and reach nearby materials. The defect is not necessarily in a pipe. Supply pipes, waste pipes and watertight seals and finishes must be assessed separately.
A DOCUMENTED CASE
The skirting board beneath the basin was damp
Supply and waste tests revealed no leaks on the systems tested. After the skirting board was removed, the wall behind it was sound. A targeted tracer test on the basin-top seal revealed the path of the water.
The report identifies the perimeter seal and recommends renewing it and repairing the skirting board. It does not document the repair as completed.
Anonymised example adapted from a team report.
Why this matters: the location of damp alone is not enough to choose a repair. Testing pipes and seals separately avoids confusing the causes.
02 · WATER SUPPLY
A leaking fitting, sometimes hidden by furniture
A fitting can be hidden without being embedded in a wall. Appliances, a shelf or an access hatch may conceal a manifold and its connections. Accessibility matters both for detection and for getting tools into place.
A DOCUMENTED CASE
Moving the appliances provides access to the manifold
To investigate water damage in the property below, the team moves appliances and removes a shelf. A loose nut and worn seal are identified on the manifold without breaking into the surrounding structure.
The report locates the source and recommends repairing the connection, then checking the installation. It does not describe the repair as completed.
Anonymised example adapted from a team report.
Why this matters: confirming access before the appointment can make detection easier. In another case, a hatch was enough to see the defect, but an opening was recommended to allow room for repair tools.
Planning the next steps for a rented property · Explore an example report
03 · BASIN AND SHOWER
Waste pipe connections and the path of water
Two nearby damp areas can make it difficult to identify the equipment involved. Separate tests and an accessible observation point help trace the water's path.
A DOCUMENTED CASE
Pink tracer at the basin, yellow tracer at the shower
Two openings in a bathroom provide a view of the pipework. Pink tracer introduced at the basin appears at the joint between the metal waste trap and the concealed PVC pipe. Yellow tracer from the shower does not appear at that point.
The report locates the leak at the basin connection. It describes a temporary measure and recommends replacing the waste trap and repairing the connection as the next steps.
Anonymised example adapted from a team report.
Why this matters: a mark may be some distance from the source. A negative result applies only to the route and conditions tested; it does not rule out leaks in all waste pipes.
04 · BEHIND THE FINISHES
Concealed pipes and targeted openings
Readings and tests on accessible areas may point towards a concealed zone. An opening then allows the defect to be examined. The report must distinguish the suspected source before opening from the defect actually observed afterwards.
A DOCUMENTED CASE
A screw pierces a PEX pipe behind boxing
An opening of approximately 40 × 12 cm reveals a pressurised jet where a screw has pierced the pipe. The report identifies the puncture as the cause and recommends replacing and protecting the affected section.
Condensation is also observed on a nearby sleeve. This is a separate finding from the pipe leak. The repair is not documented as completed.
Anonymised example adapted from a team report.
Why this matters: one area can have several sources of moisture. The located defect does not establish when it began or who is responsible in this case.
05 · SHARED BUILDING
Stacks and water in basements
Water in a basement may require checks from several homes. Access to fixtures, the main waste pipe and the affected area needs to be coordinated.
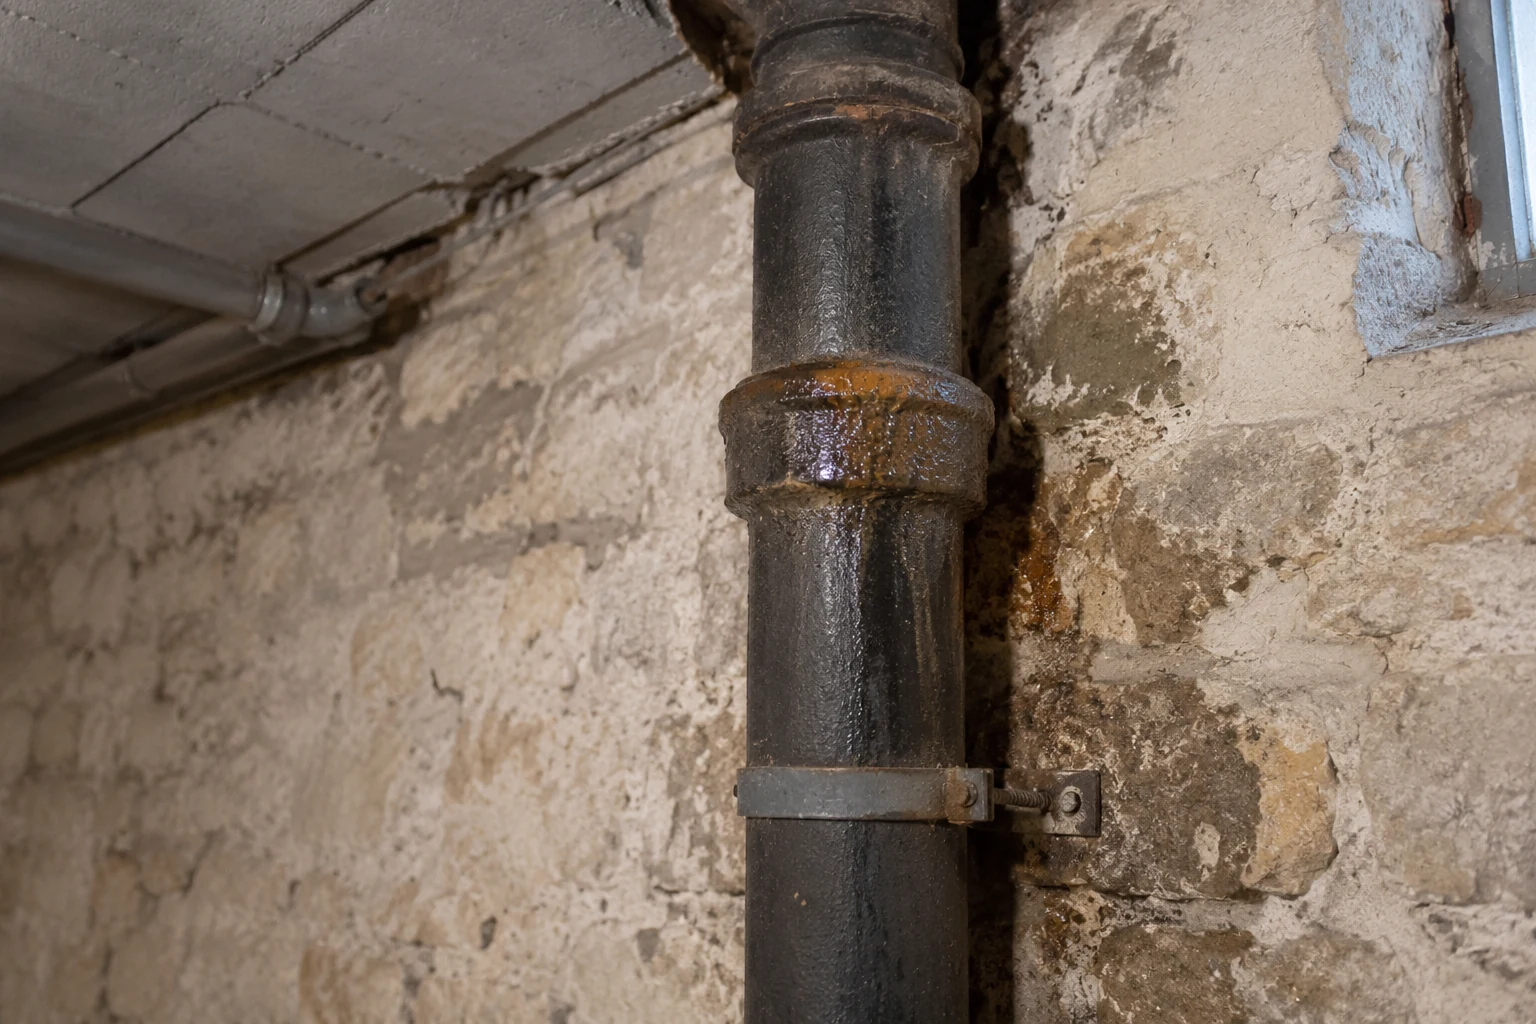
A DOCUMENTED CASE
Water from two homes reaches the same leak
A tracer test from one shower and a water test from another home feed the same flow of water in the basement. An access hatch reveals damaged cast-iron joints.
Repairing from the basement is recommended to minimise removal work. The report describes two visits because access was unavailable initially. It does not describe the repair as completed.
Anonymised example adapted from a team report.
Why this matters: identifying the pipework and leak location helps plan repairs. Allocation of costs must be discussed with those handling the case.
Preparing an investigation with your building manager · Coordinating access between neighbours
06 · ONCE THE LEAK IS LOCATED
Stopping the leak and repairing the damage
A repaired leak can leave a stained ceiling, damaged skirting board or a wall that still needs to dry. The report should specify what was done during the visit and what remains to be arranged.
A DOCUMENTED CASE
Two valves repaired, repainting still to be arranged
Two isolation valves were dripping in a bathroom and damaging the ceiling below. Their repair is explicitly described during the visit. Subsequent checks reveal no further leaks in the systems tested.
Drying and painting still need to be arranged. The report provides neither a complete drying time nor a follow-up after the finishing work.
Anonymised example adapted from a team report.
Why this matters: investigation, repair of the source and restoration are separate items. Their status should be clear to the occupant, property manager and insurer.
The steps after water damage · How the report documents the next steps
Does your situation sound like one of these cases? Describe the marks, access and any checks already carried out.
Contact us ↗