From the on-site inspection to the written report
A ceiling stain shows where water has appeared. It does not always reveal where it came from. The report sets out the reasoning: what was reported, the areas inspected, the tests carried out and what they showed.
On our inspections, the conclusion may identify a precise cause, such as a leaking connection, or only narrow it down to a suspected area. If a property is locked or a pipe is inaccessible, the report should state that limitation.
- Set out the context. What damage was reported? In which room or premises? What access was available?
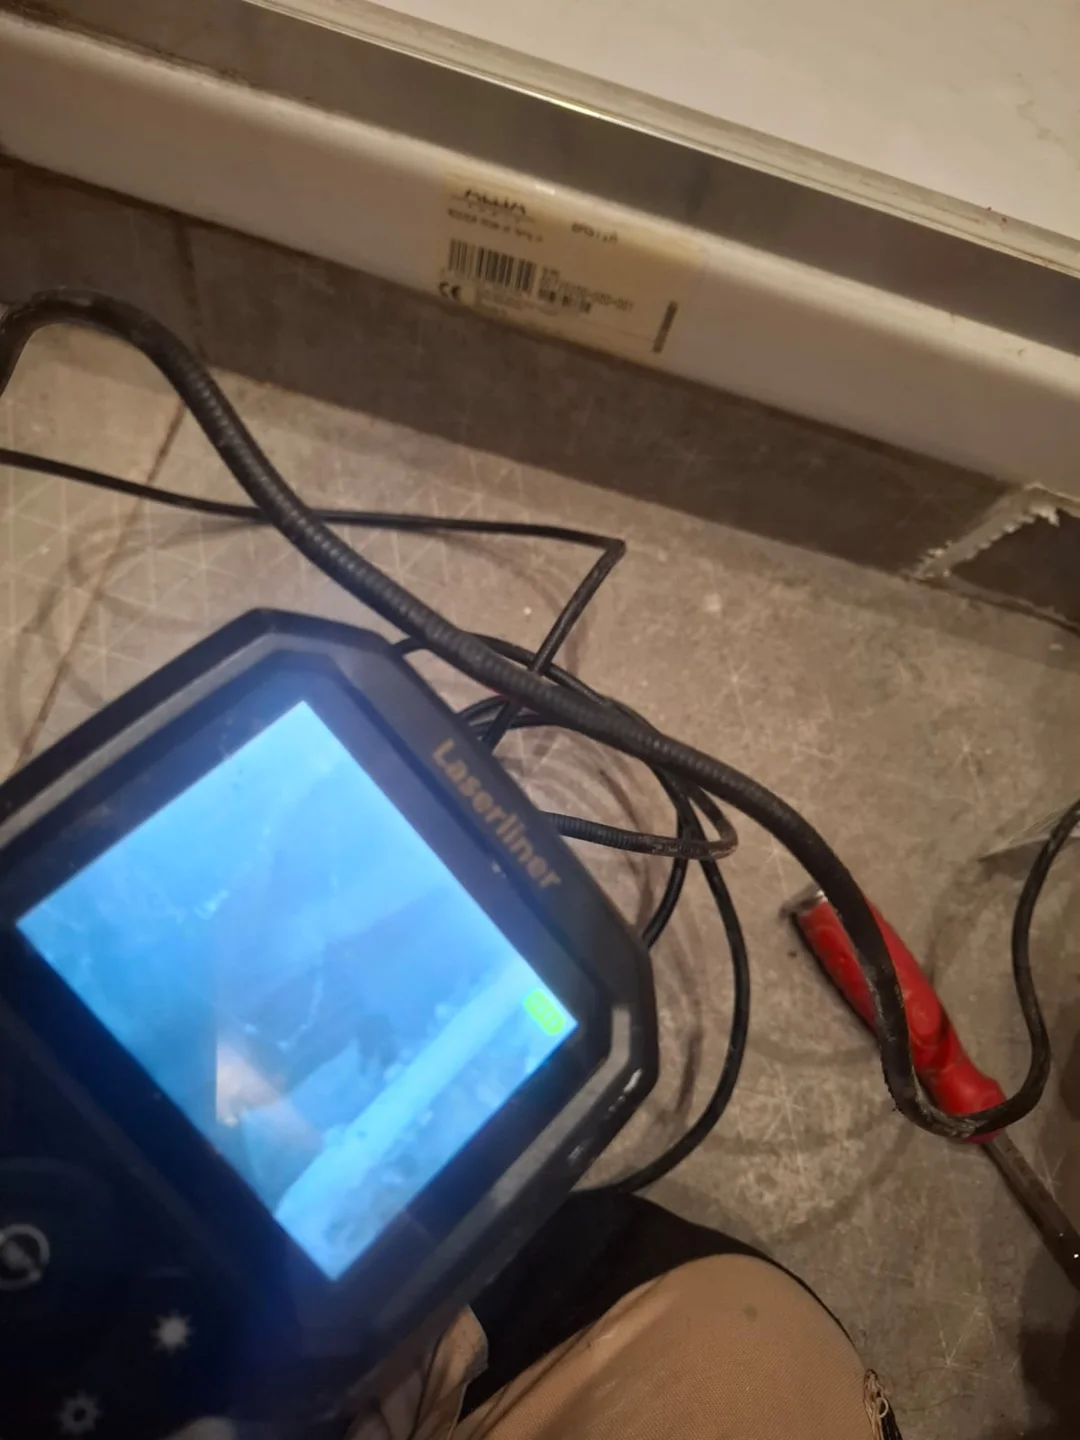
- Describe the work carried out. Visual inspection, moisture readings, pressure testing or dye testing: the report records the tests actually performed and where they took place.
- Record the results. A dye trace, visible water flow or stable pressure: each observation is linked to the check that produced it.
- State the conclusion and next steps. An identified or likely source, further checks needed, and whether a repair was completed or only recommended.
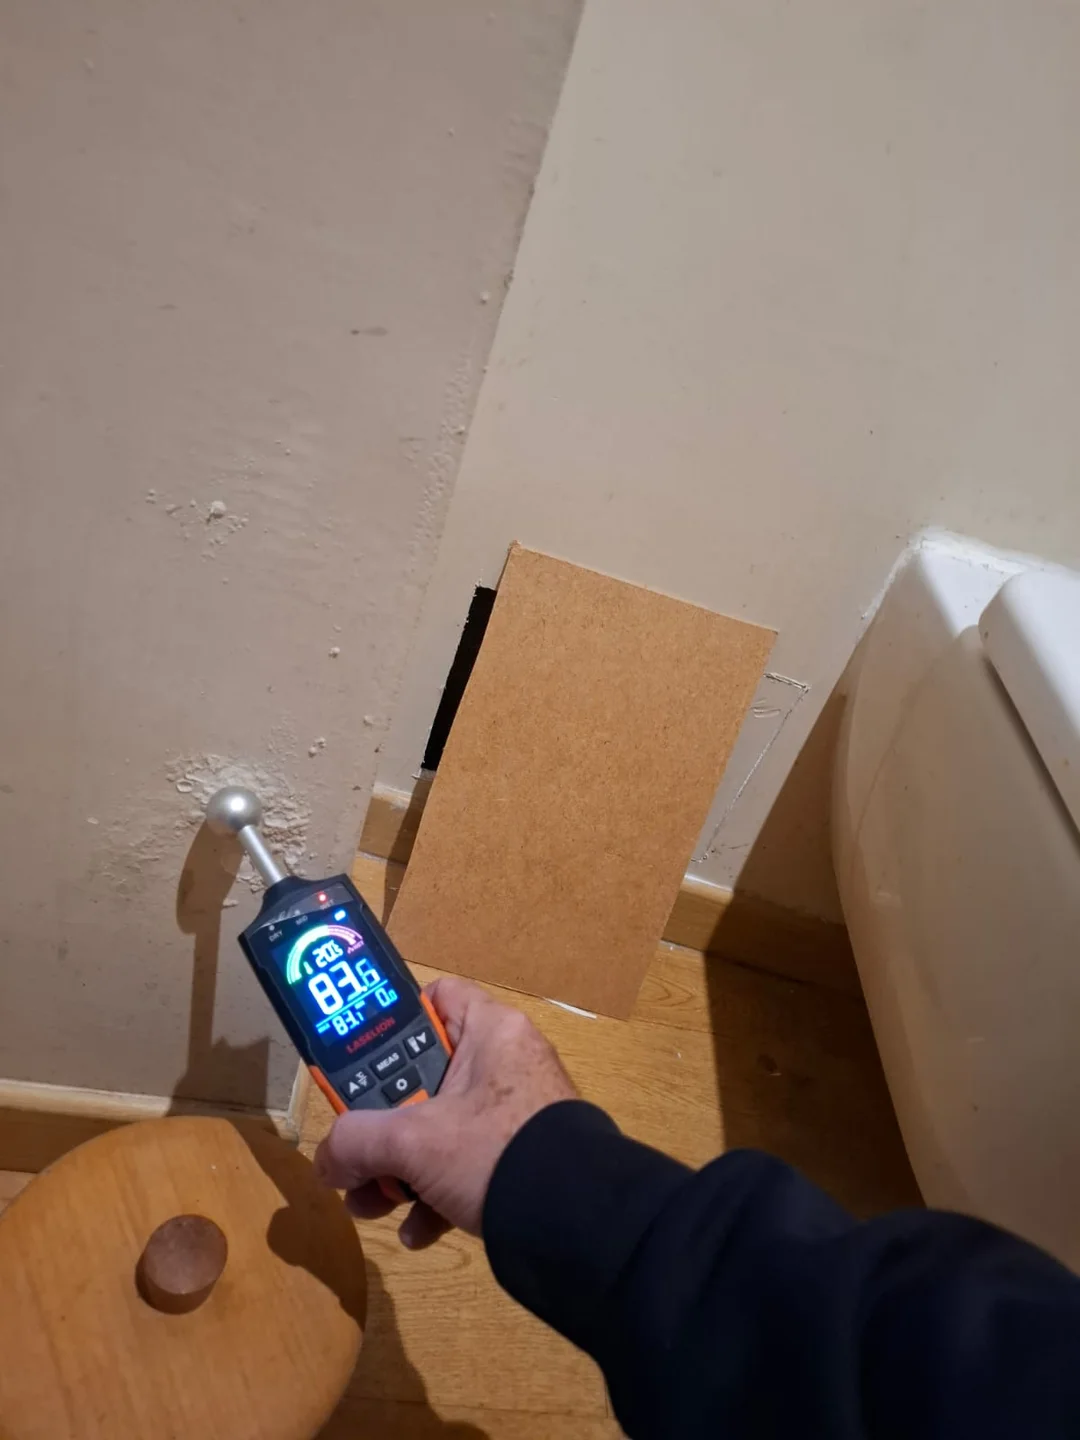
A moisture meter reading does not necessarily show the percentage of water in a wall. The report should explain what was measured and where, without implying more precision than the reading provides.
An example report with the customer's details removed
Here is a short example, rewritten from a documented inspection. Names, the address and claim references have been removed. It is neither the original PDF nor a document you can submit to your insurer as evidence.
A leak at a water supply manifold
Technical report · Abridged example
- 01 · Situation
- Water damage is reported in the flat below. The investigation focuses on a water supply installation above it.
- 02 · Access and inspection
- Appliances and a shelf are moved to reach the manifold, which distributes water to several pipes. No destructive opening is needed.
- 03 · Findings
- A loose connection and a worn seal are identified on the manifold.
- 04 · Conclusion
- The report attributes the leak to this connection and links it to the water damage in the flat below.
- 05 · Recommended action
- Repair of the connection is recommended. This report does not document it as completed.
- 06 · Photographic reference points
- The original report includes a view of the access and a view of the manifold. They are not reproduced here.
Rewritten example for guidance. A technical conclusion does not determine liability or an insurance payout.
The key points here are that the defect is identified, access is described and the repair is still outstanding. Simply writing “leak found” would leave out information the person arranging the next steps needs.
Located, likely or still to be checked: reading the conclusion
In inspection reports, these three descriptions mean different things.
- Source located: a loose manifold connection and its worn seal are identified after furniture is moved. The repair may still be outstanding.
- Likely source: defects around a shower are suspected, but lack of access to the neighbouring flat prevents confirmation of the tracer's path.
- Leak confirmed, exact point still to be exposed: a test shows a pressure loss of 2 bar in 15 minutes, and the report recommends a further opening to examine the exact point.
These examples come from separate cases. A hypothesis, a test result and a visible defect should not be treated as equivalent. See our explanations of common problems and checks to understand how the investigation can proceed.
Photos that show you where to look
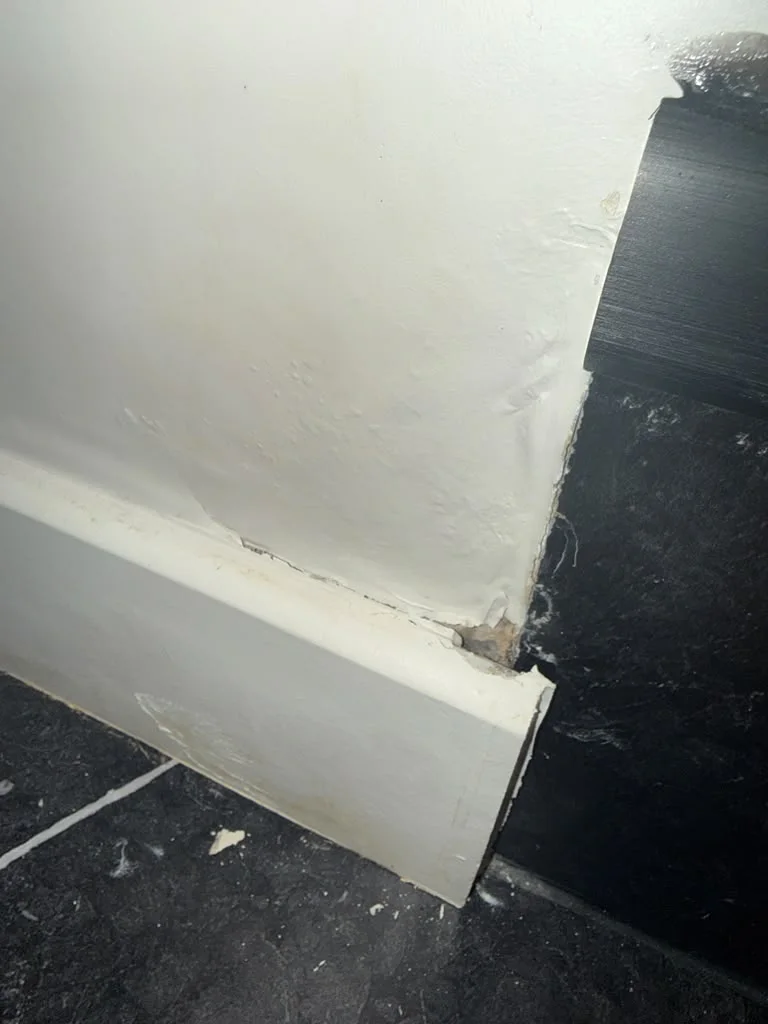
A wide shot helps locate the room or access point. A close-up shows the connection, seal or area tested. The caption explains what you are looking at: without one, a photo of a pipe can be hard for a property manager or insurer to interpret.
Photos also distinguish between stages. An opening made to investigate, an exposed defect and a completed repair are three different situations. A report should not imply the repair is complete if it has not been carried out.
If a check reveals no leak, that result is still useful, provided the report specifies the area and test conditions. That result alone does not rule out a leak on every system in the building.
How does the report help with an insurance claim?
It gives the claim a technical basis: the areas inspected, checks performed, source identified and recommended work. It helps everyone discuss the same problem and distinguish leak detection from repairing the leak and restoring damaged finishes.
The report does not guarantee reimbursement. Cover, exclusions and the excess depend on your policy. It does not replace the French joint water damage statement, or any assessment your insurer may request.
Report the damage promptly, within your policy's deadline, which cannot be less than five working days. Keep invoices for urgent repairs and wait for your insurer's agreement before starting restoration work. The French joint water damage statement (constat amiable) is optional, but can help the claim proceed. See the steps on Service Public, the French public information website ↗
Who pays for leak detection?
Leak detection costs may be covered. Before booking, confirm who should arrange the inspection, who should receive the invoice and whether you need to pay upfront. In a jointly owned building, this depends in particular on the flat's occupancy and which parts of the building are involved. Service Public explains these situations ↗
Our guide to questions to ask your insurer helps you prepare for that conversation. For the quote itself, also see what affects the cost of leak detection.
The documents to gather to avoid repeated requests
Ask your contact for a list tailored to your claim. To prepare for the conversation, keep these together:
- Your claim reference and the contact details of the person handling it.
- The quote and written approval you received, including the inspection scope and payment terms.
- The illustrated report, its conclusion and any investigations still needed.
- The invoices for leak detection and completed work, with the services listed separately.
- Photos of the damage and relevant correspondence with neighbours, the landlord or the building's managing agent (syndic).
“Could you confirm who should arrange leak detection, which costs are covered under my claim and which supporting documents I should send you?”
Fuites Détectives aims to provide an illustrated report within 24 hours of the inspection. When booking, tell us who should receive it and whether your insurer or property manager has any specific requirements.
Sources and example
Anonymised example adapted from one of our team's reports. For insurance claim procedures: Service Public: water damage insurance in France.
Need to locate a leak and document your claim?
Contact us ↗