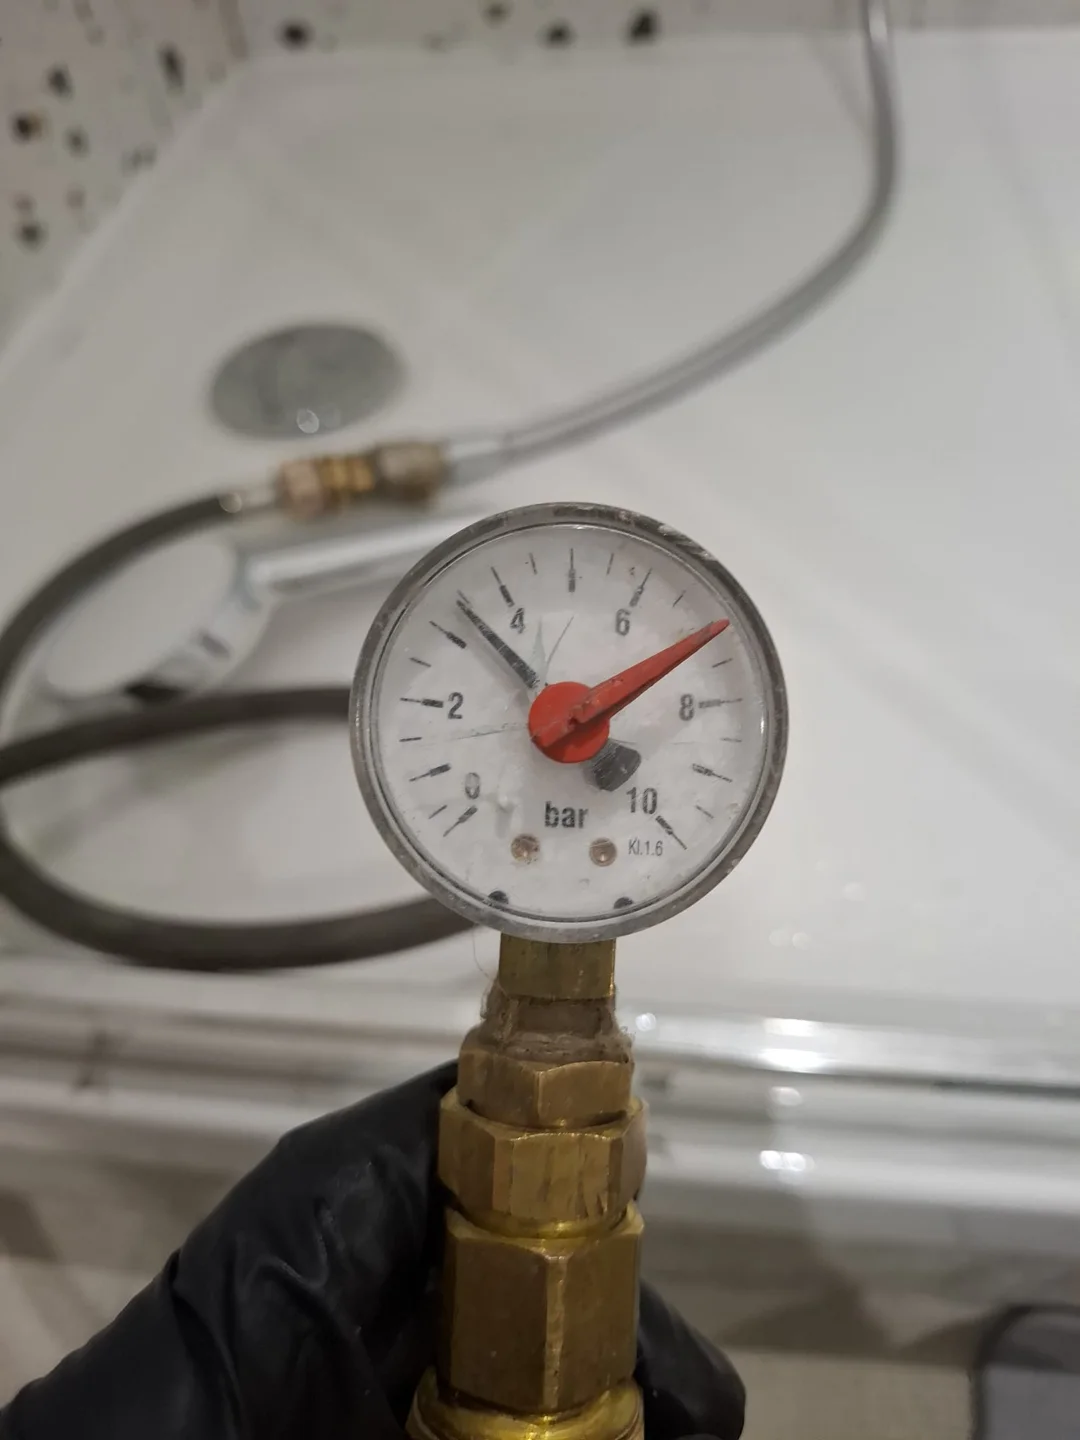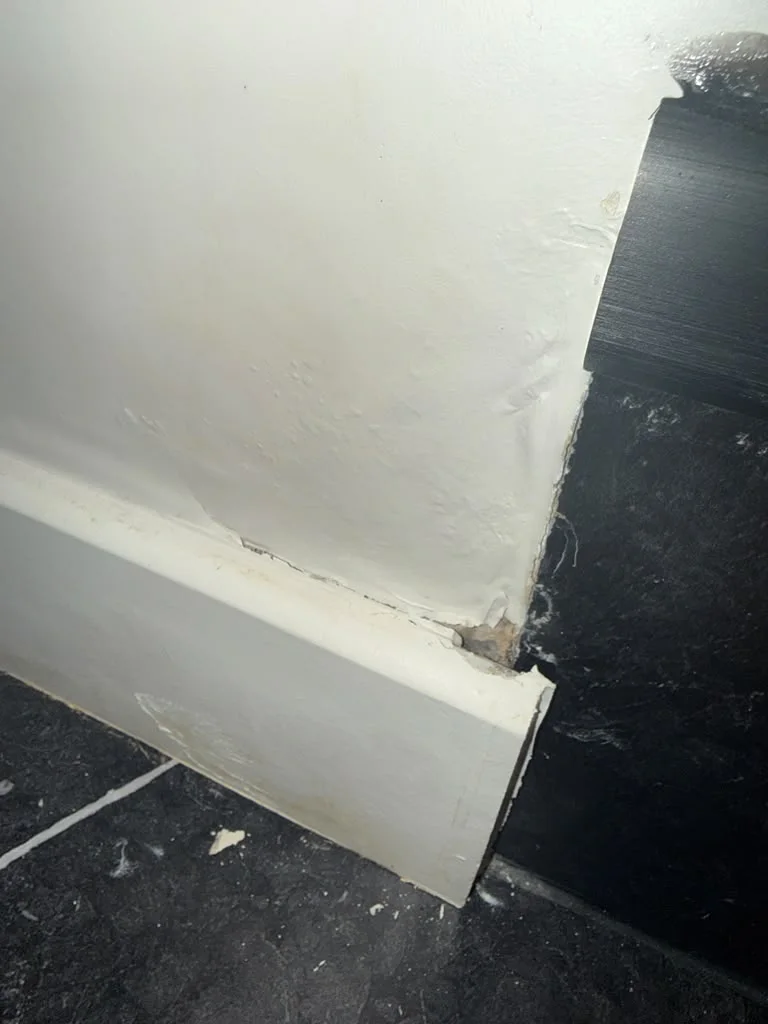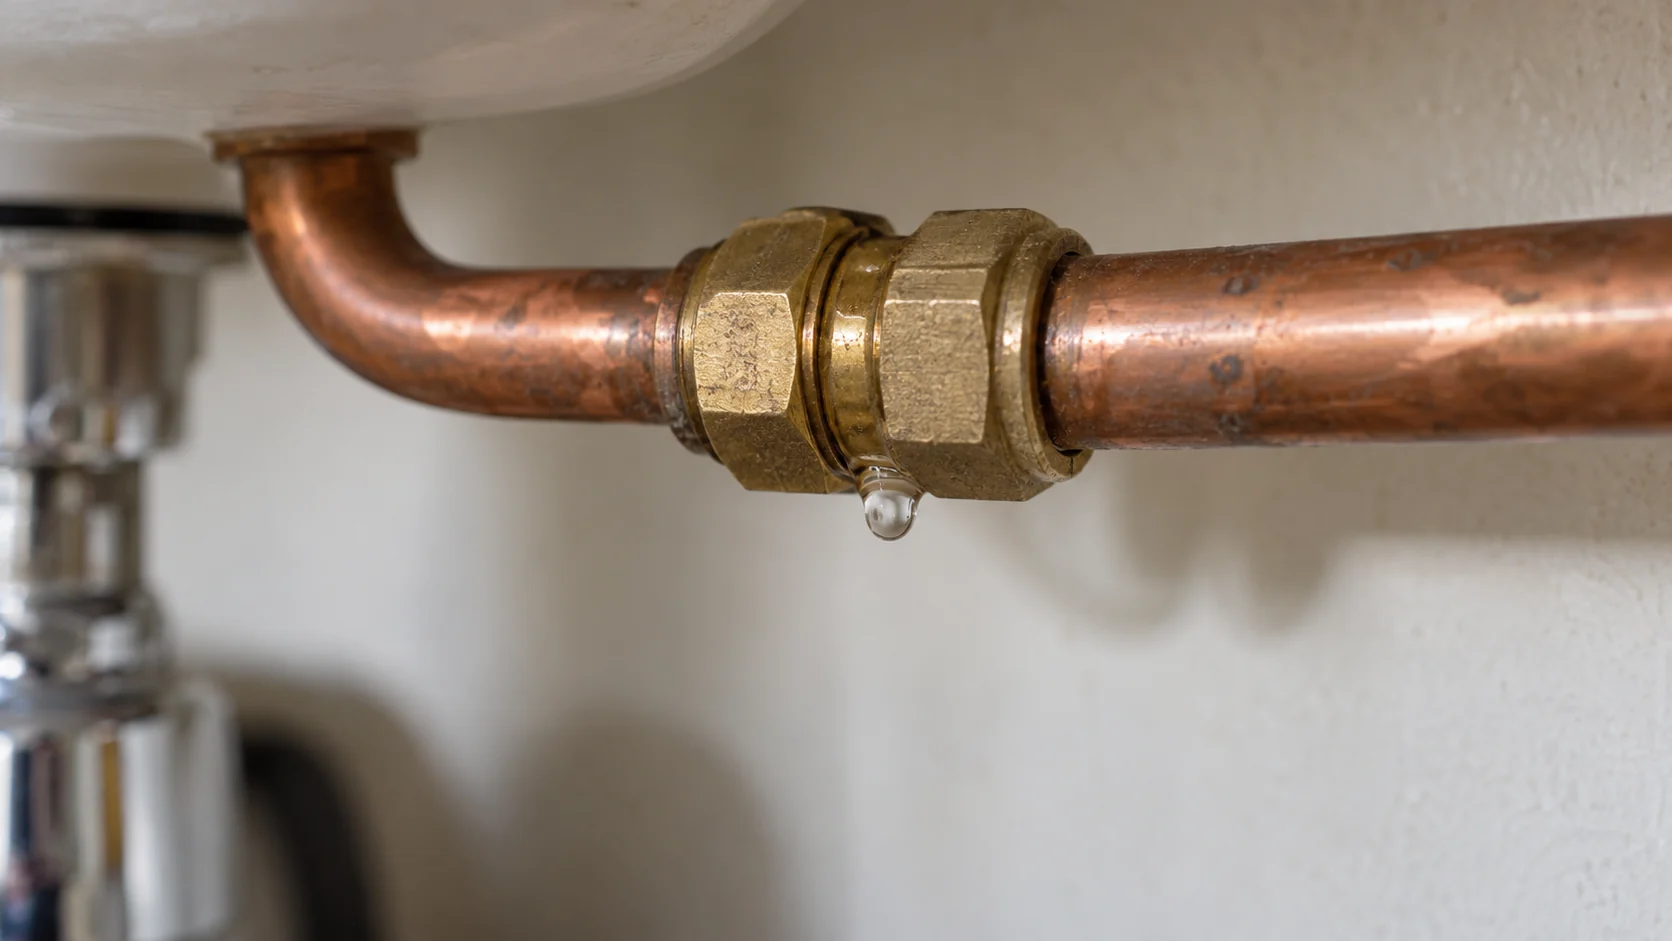

A drip returns beneath the basin, a connection is seeping or a pipe has a hole: you can finally see where the water comes from. Now you need the right repair. A waste trap seal, a water supply pipe and a radiator circuit need different approaches.
To repair a leak that has been located, start by stopping the flow, identifying the affected component and system, then choosing a solution compatible with the installation. Replacing an accessible seal can be straightforward; a concealed pipe or heating circuit needs appropriate work. A patch may help temporarily without resolving the cause of the defect.
Before repairing: stop the water and protect the area
On a water supply pipe, close the isolation valve for the affected circuit if you can identify it with certainty. Otherwise, turn off your property's main water supply. Do not force a seized valve or operate a communal building valve without coordinating with the caretaker or managing agent.
For a waste pipe, stop using the fixture causing the leak. A container can catch the last drips, but does not make the installation safe to use normally.
Before dismantling a water supply connection, isolate the installation and release any remaining pressure. A hot water pipe can also be scalding. If you do not know how to make the circuit safe, call a plumber.
Move belongings away, wipe up what you can and take a photo before touching any components. If water is approaching a socket or electrical appliance, do not handle wet equipment. If the ceiling is sagging or changing shape, keep clear and get urgent help.
Check that the visible part is really the source of the leak
Water can run along a hose or pipe before dripping. A droplet at the lowest point is therefore not always where the defect is.
If you can inspect without making the damage worse, dry the accessible parts and watch where moisture first returns. A wider photo helps you trace the route. Do not keep testing if water is reaching the flat below.
Distinguish between three types of installation:
| System | Useful clue | What this means for the repair |
|---|---|---|
| Water supply : flexible hose, isolation valve, pipe before the tap | May leak even when no fixtures are in use | Isolate the supply and release pressure before starting work |
| Waste drainage : waste trap, waste outlet, pipe after the fixture | Water often leaks during use or draining | Stop using the fixture and check the relevant connections |
| Water-based heating : radiator, connection, pipework | May be accompanied by falling circuit pressure | Have the circuit and the conditions for restarting it checked |
These clues help guide the investigation; they are not a diagnosis. A meter check measures consumption on the supply it serves. It does not test whether a shower enclosure or its waste pipe is watertight. Our guide to a water meter that keeps turning with all taps off explains this first check.
A waste trap or removable connection is dripping
Under a sink or basin, check whether water is coming from the trap body, a nut or the connection to the waste outlet. A misplaced, worn or missing seal may be responsible. The pipe may also be misaligned, or a component may be cracked.
If the assembly is accessible and you know how to reassemble it, photograph it before taking it apart, place a container underneath and follow the model's instructions. Check the sealing surfaces and components. A replaceable seal needs the right shape and dimensions; some traps, such as the Nicoll Easyphon model, have integrated seals instead.
Reassemble the parts in line, without putting strain on the pipes, and follow the specified tightening instructions. Overtightening can distort a seal or damage plastic. Replace any cracked component.
Do not automatically add PTFE tape or silicone: depending on the connection, the seal may rely on a washer, thread or another mechanism. Applying a product in the wrong place does not correct a faulty assembly. If the parts no longer align naturally or the leak returns, have the assembly repaired properly.
A flexible hose or isolation valve is leaking
On a flexible supply hose, distinguish between a faulty connection and damage to the hose itself. Damaged braiding or a leaking hose body calls for replacement; wrapping it in tape will not restore it.
The replacement must suit the intended use, connection sizes, pressure and operating temperature. The hose must not be stretched tight or sharply bent. After fitting it, restore the supply and check both ends.
An isolation valve leaking at its handle or body also needs careful inspection. Avoid forcing it or dismantling a part while the water is still under pressure. Depending on its condition and design, it may need servicing or replacement.
A pipe has a hole or crack
The repair depends on the material, the condition around the defect and whether the pipe is accessible. Copper, PVC waste pipe, PEX (known as PER in France) and multilayer pipe require different solutions.
On a water supply pipe
A pipe with a hole may need its damaged section replaced using suitable fittings. If the metal is badly corroded or several defects are present, repairing only the visible hole may not be enough. The professional also checks the surrounding condition and stresses on the pipework.
On PEX or multilayer pipe, fittings and tools must form a compatible system. Some repairs must remain accessible, depending on the fitting and its conditions of use. Do not close up a wall until this has been clarified and the necessary checks completed.
On a PVC waste pipe
A cracked pipe or failed solvent-welded joint may require the affected section to be removed and rebuilt. Spreading adhesive around a leaking joint does not recreate the intended connection between the parts.
The adhesive must be suitable for the PVC and its use. Check its instructions for preparation, dry surface requirements and the wait before returning the system to service. An adhesive for waste pipes is not automatically suitable for a drinking water pipe.
Tape, putty or a repair clamp: what can they do?
Repair tape, putty or a suitable repair clamp may help contain an accessible leak under the conditions specified by the manufacturer. The purpose of an emergency repair is to limit damage and arrange the next steps. The fact that dripping has stopped does not, by itself, prove that the repair will last.
Before using a product, check the material, diameter, surface condition, pressure, temperature and time before returning the pipe to service. For a drinking water supply, also check that it is suitable for that use. A claim of “all materials” does not remove the need to read the exclusions: the GEB repair tape product sheet excludes PEX and multilayer pipe, for example.
Some products are designed for specified long-term uses; others are sold as temporary solutions. There is therefore no single lifespan for all patches. Keep the repair visible and accessible for checks, then have the appropriate lasting solution confirmed. If you cannot stop the water, call a professional rather than improvising an application under pressure.
Around a shower, the visible seal is only part of the picture
A seal that has come away around a shower can let water through. But a leak after showering can also come from the waste outlet, waste pipe or failed waterproofing beneath the finish.
If the seal is confirmed as the cause, renewing it requires a prepared surface and a compatible product. Applying a new bead over the old seal may leave the defect in place. The wait before using the shower again depends on the product and application conditions: follow its instructions.
If water reappears in your neighbour's flat, stop using the shower and have the source checked before replacing seals at random. Our guide to ceiling stains helps you gather useful observations.
Heating or concealed pipes: arrange the right work
Falling heating pressure can have several causes. Repeatedly topping up the system does not repair the fault. A heating engineer may need to check the boiler and its components; leak detection on the pipework may be needed if the leak is in the circuit.
For a pipe behind a wall or beneath a floor, clarify what has been established: a confirmed exact location, a suspected area or simply a visible stain. Opening up, repairs, testing and reinstatement should all be included in the scope of work. Our page on heating leaks explains the checks available.
After the repair: check, then allow to dry
If the circuit can be returned to service, follow the waiting times for the materials used, then check for leaks under the relevant operating conditions. Observe a waste pipe while it is in use; check a supply pipe after restoring pressure. Have a professional carry out this stage when the circuit or repair requires it.
Keep the date, photos and details of the parts replaced. Then monitor the area, particularly after the first few uses.
During a documented Fuites Détectives visit, two isolation valves were repaired in the bathroom above a damaged ceiling. Subsequent checks revealed no other leak on the systems tested. The ceiling still needed to dry before painting. Stopping the leak and restoring the finishes are two separate steps.
Drying depends on the materials and the water they have absorbed: an old stain does not prove there is a new leak. Fresh water flow or a spreading damp area does, however, need another check.
Need to clarify what happens next?
Contact us with a wider photo, a close-up of the leak and your town or Paris district. Tell us whether the water is off and what has already been checked. If the source remains uncertain, Fuites Détectives can assess the investigation needed; the repair will depend on access, the system and the defect found.
Send a wider photo, a close-up of the leak and your town or Paris district to help us prepare for the first conversation.
Contact the team ↗